
GabrielSoft - PCI Tutorial
You, as the merchant account owner, must complete a PCI compliance Self Assessment Questionnaire (SAQ) once a year in order to be PCI compliant and avoid paying a monthly non-compliance fee. Even if you are not actively using GabrielSoft Payments at the moment, your CardConnect account is still subject to compliance. To get started with the SAQ, follow the instructions below.
There are two ways to get started:
- Log into your CardPointe account (if you have access to a CardPointe account)
- Create a SecureTrust account (if you do not yet have access to a CardPointe account)
- 1
Log into your CardPointe account (pictured below)
Log into your CardPointe account by visiting www.cardpointe.com/account (pictured below).

If you have not registered your account yet, you may do so by visiting cardpointe.com/account/registration#/registration (pictured below). You will need the MID that is in your PCI email.

Once you are logged in, click on "My Account". Under PCI Status, you can click on the hyperlink labeled "Not Compliant" (pictured below) in-line with your main Merchant ID.

After you click on "Not Compliant", you will be redirected to the SecureTrust website to start* the PCI Compliance process
*NOTE: When you are redirected to the PCI Compliance process, click on "Guide Me" to begin the tutorial. You can now skip ahead to the Complete the PCI Questionnaire portion of this Help Article below.
- 2
-
Log into your SecureTrust account:
You can get started using this link: https://cardpointe.managepci.com/(pictured below).

Next, this screen will pop up (pictured below). You can read and answer the question:
Begin by entering your Business Information and Primary Contact Information (pictured below). When you are done, click Next.

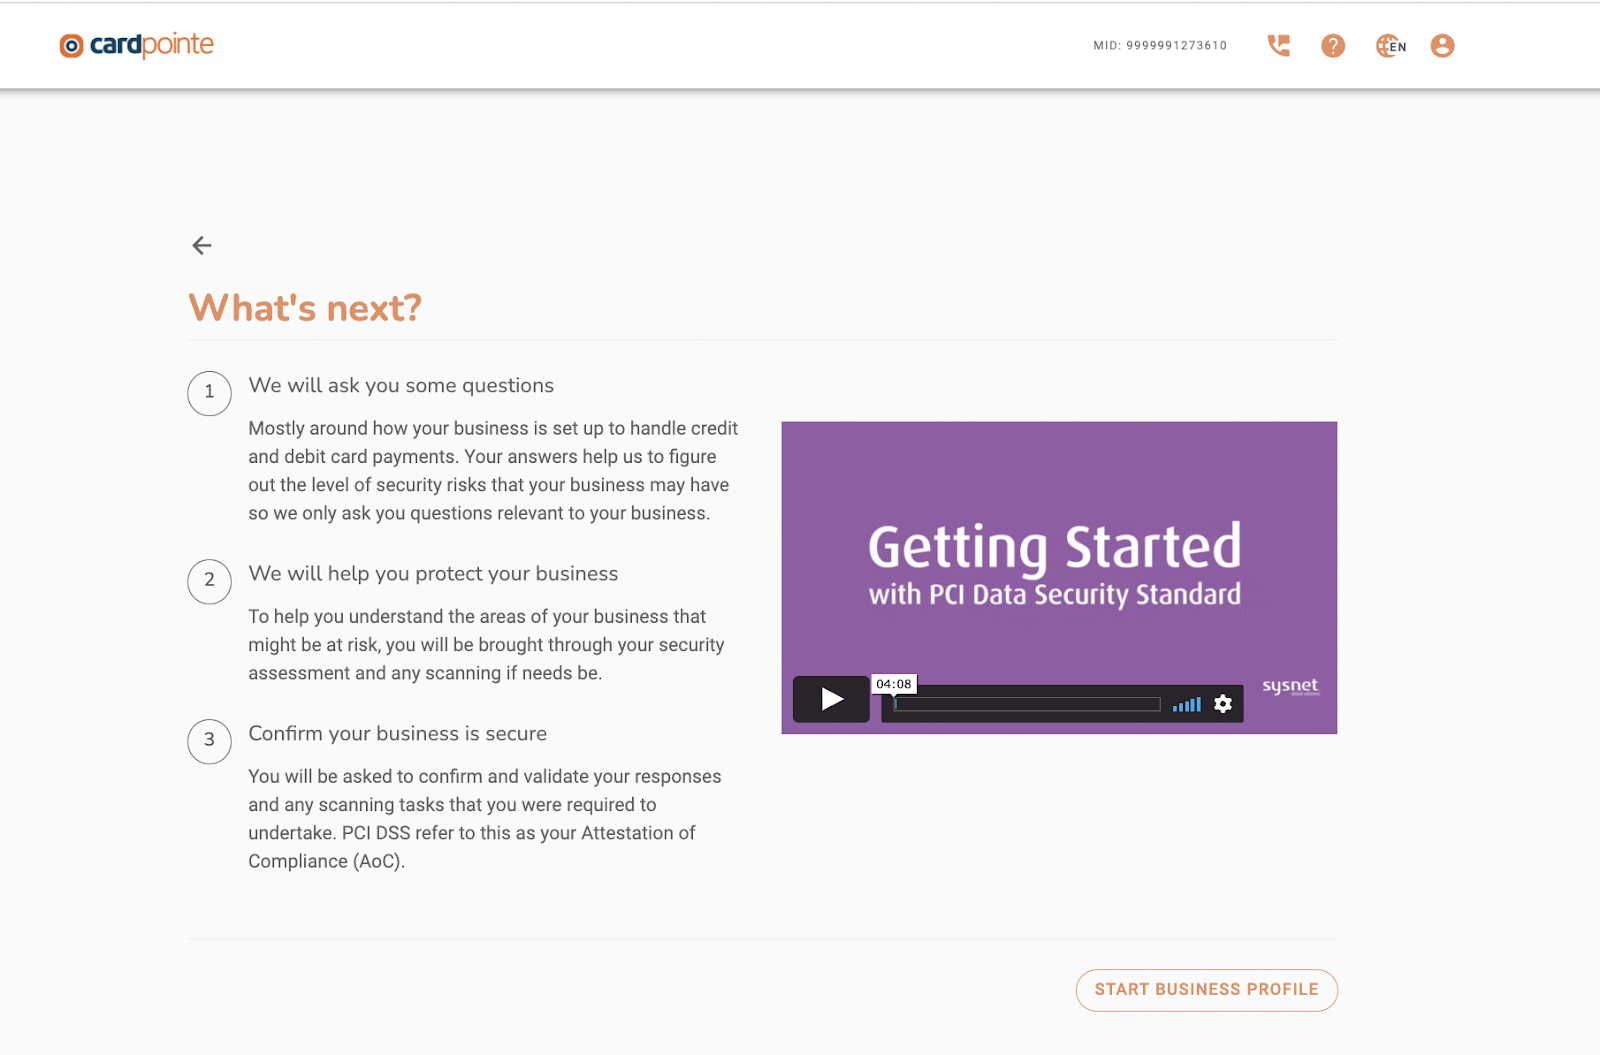
Then, you will be prompted to watch a short video about PCI Compliance (pictured below). When you are ready, click Start Business Profile to get started.
On this screen (pictured below), you can read the statement and click Next.
If you are renewing your PCI Compliance and nothing has changed in the previous year, click No (pictured below). If you are a new account, you will likely not see this screen. Click Next.
Choose Guide Me to begin the PCI Questionnaire. Click Next (pictured below).
-
What Are The Ways You Accept Credit Card Payments:
- ONLY select: My business has a website where payments with a credit card are made online.
Then, click Next.
Credit Card Data Storage:
- Select: None of the above - I never store credit card data.
Then click Next.
Web Site Control:
- Select: No - a third-party service provider handles ALL administration.
Then click Next.
Service Providers:
- Select: Yes
Multiple Acquirer:
- Select: No
Then click Next.
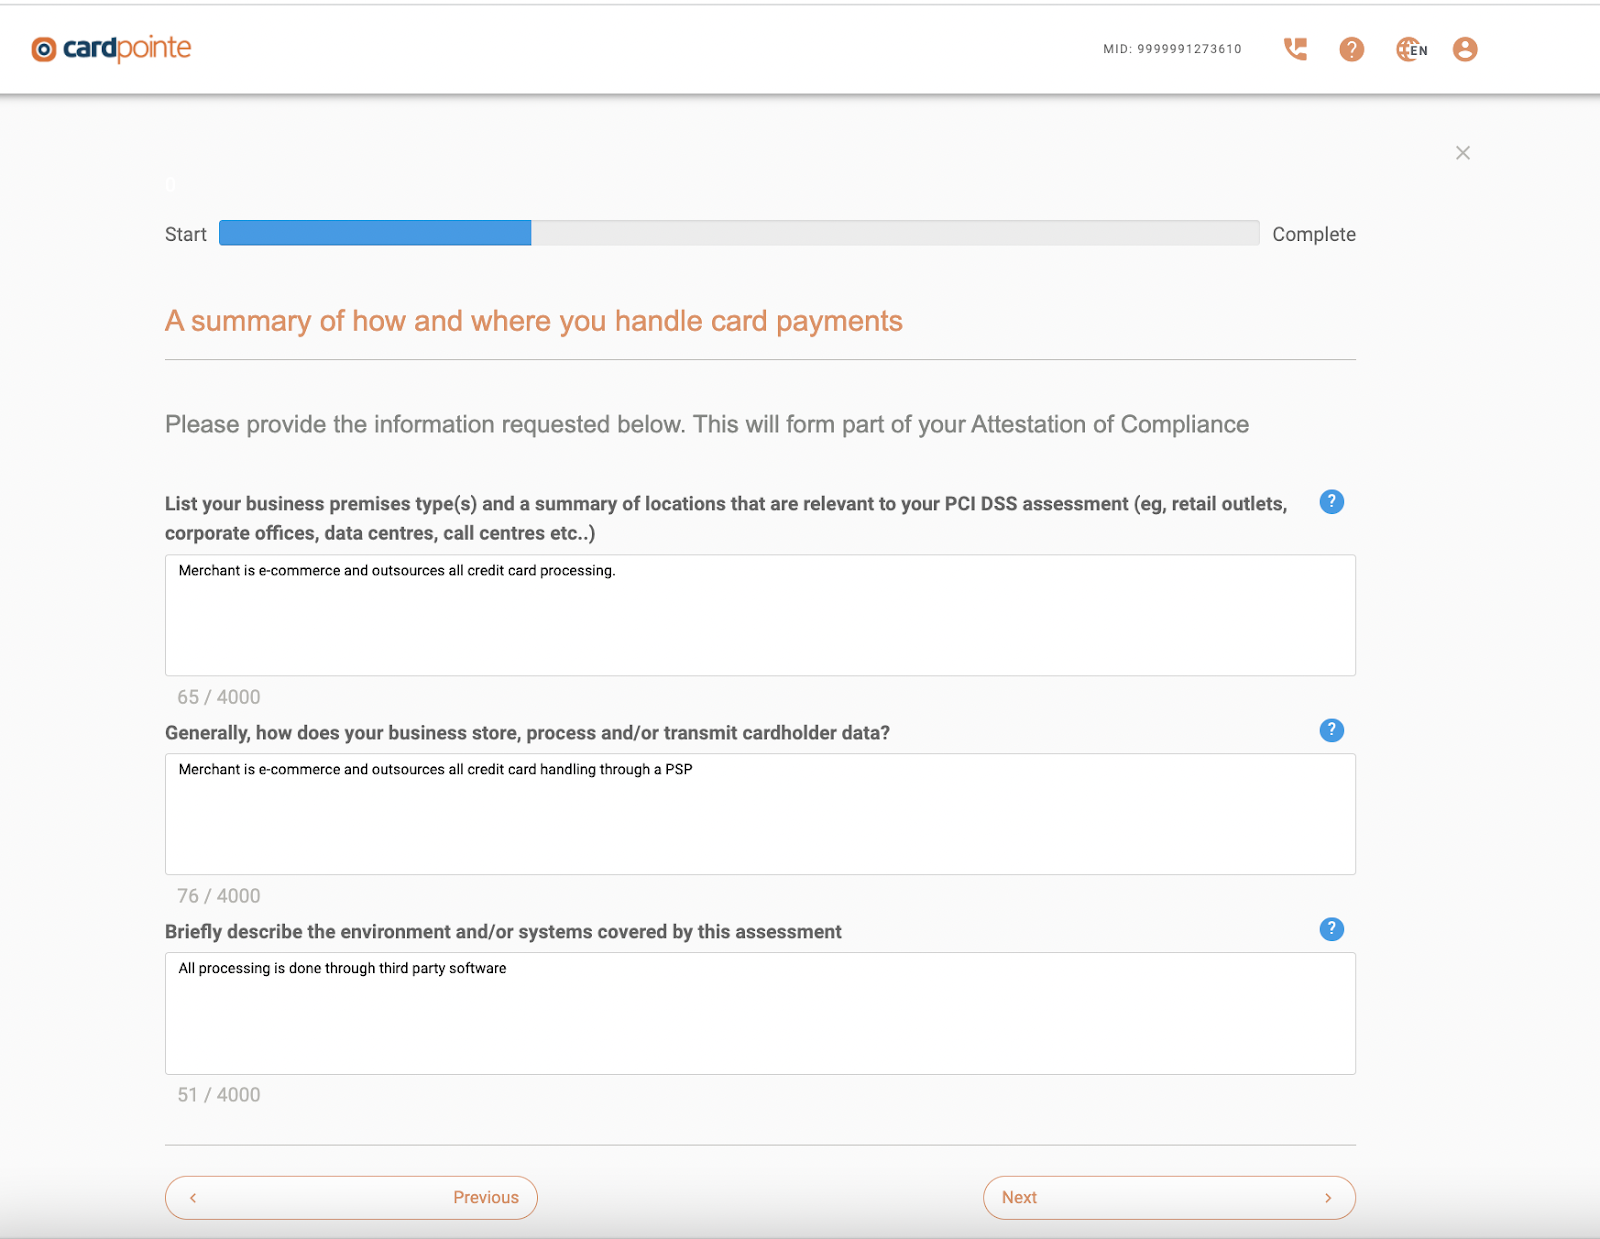
A summary of how and where you handle card payments:
Copy and paste the phrases below; for visual, see screenshot below.
List your business premises type(s) and a summary of locations that are relevant to your PCI DSS assessment:
- Enter: “Merchant is e-commerce and outsources all credit card processing".
Generally, how does your business store, process and/or transmit cardholder data?
- Enter: "Merchant is e-commerce and outsources all credit card handling through a PSP".
Briefly describe the environment and/or systems covered by this assessment:
- Enter: "All processing is done through third-party software."
Then click Next.
E-Commerce Websites:
Type in the website URL where your organization will be taking donations and payments, check the box asserting your organization "has full authority to allow TrustWave to monitor the above website", and then click ADD.
NOTE:If you are using a newer top level domain such as .church or .school, you may need to enter the full URL with the HTTP:// or HTTPS://.If you are using more than one website to receive donations and payments with this merchant account, repeat this step until you have added every website you will be actively using.
Once you are finished, the domains that you added will be listed in your window (pictured below):

After you verify that all the correct URLs are listed, click Next.
Service Providers:
Next, add GabrielSoft as your service provider (pictured below):
Type in GabrielSoft (as shown above) and click the search icon. It will return “No Results Found! Please check your entry for correct spelling and try again! Or add your own”. Click on add your own’ (the arrow in the above screenshot is pointing to this hyperlink). Enter GabrielSoft and click Add. Please note: If the option to "add your own" does not allow you to type in GabrielSoft, click the REFRESH button in your browser OR click back to the previous page and try again.
Then click Next.

Paper Documents with Credit Card Data:
- Select: No.
Then click Next.
Restrict Access to POS Devices:
- Select: Yes.
Then click Next.
Keep Track of POS Devices
Select ONLY the following boxes (pictured below):
- The list includes all card-reading devices.
- The list includes the device make and model, the location, and the serial number or similar identifier.
- The list is kept up-to-date when devices are added, relocated, or removed from operation.
Then click Next.
Inspect POS Devices for Tampering:
-
Select: Yes.
Then click Next.
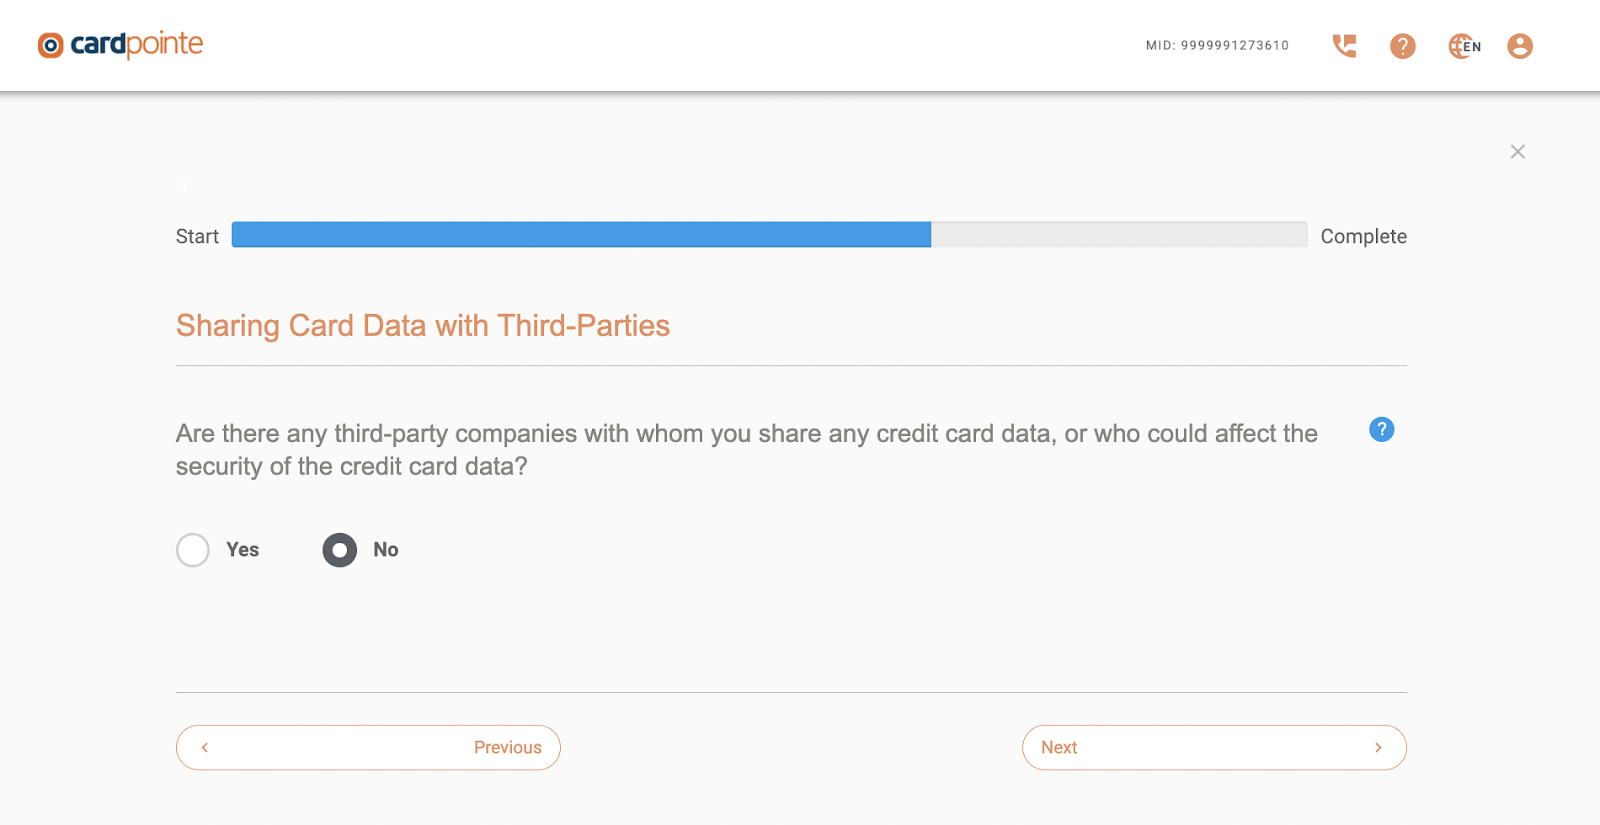
Sharing Card Data with Third-Parties:
- Select: No.
Then click Next.
Maintain Written Security Policies:
- Select: Yes or Yes, I use the security policies included in my subscription.
Then click Next.
Define Security Responsibilities:
- Select Yes.
Then click Next.
Review Security Policies Annually:
-
Select: Yes
Then click Next.
Computer and Device Usage:
Select ONLY the following boxes (pictured below):
- Require explicit approval by authorized parties to use the technologies.
- Maintain a list of all such devices and personnel with access
- Specify locations the technology can be used and a description of acceptable business usage.
Then click Next.
Maintain an Incident Response Plan:
- Select Yes.
Then click Next.
Restrict Sending of Credit Card Data:
- Select Yes
Then click Next.
Provide Security Training to Employees:
- Select Yes or Yes, I use the Security Awareness Education included in my subscription.
Then click Next.
Recognize POS Device Tampering:
- Select Yes.
Then click Next.


PCI Questionnaire (THESE STEPS ARE IMPORTANT TO ANSWER AS SHOWN)
Select the following answers for each slide that you complete. They are listed in the order that you will answer them:


This should complete THIS SECTION of the PCI Compliance process. You will then be directed to your dashboard (pictured below) to finish the second part:

Complete Security Assessment:
You may be prompted to complete the security assessment:

To get started, click Manage and then select Answer now:
 Build and Maintain a Secure Network and Systems:
- 2.1(a): N/A and type in 'does not apply'
- Select Finish

- 2.1(b): N/A and type in 'does not apply'
- Select Finish

Select: Next
 Maintain a Vulnerability Management Program
- 6.2(a): N/A and type in 'does not apply'
- Select Finish

- 6.2(b): N/A and type in 'does not apply'
- Select Finish

Select: Next
 Implement Strong Access Control Measures:
- 8.1.1 through 8.2.3(a): Select Yes

- 8.5: Select Yes

Select: Next

Maintain an Information Security Policy:
- 12.8.1 through 12.8.3: Select Yes

- 12.8.4: Select Yes
- This is the date you are completing the questionnaire. Today's date should auto-populate so just click Finish.

- 12.8.5 through 12.10.1(a): Select Yes
 Select: Next
 This final section is where you just need to make sure the organization information is correct. The only place you may see an "X" is Merchant Executive Title. Click that section and enter your title.

Enter your title:

Select: Confirm Your Attestation as shown above.
CONGRATS! You're all finished for a year!!!
